This may be a bit of an unconventional take.
With that out of the way, let’s get to creating a simple slider using the good old core/columns block.
Let’s add a 3 / 3 / 3 columns block:
- that has
stack on mobileunchecked - with the
inner columnblock having100% width
, and add three images from Sri Lanka’s natural beauty.
Wrap it within a group (with class name .columns-image-slider, and wrap that in another group with a an inner width of, say 720px.
Let us add a core HTML block, with the following content in it:
<style>
.columns-image-slider {
position: relative;
overflow: hidden;
}
.columns-image-slider .wp-block-columns {
display: flex;
flex-wrap: nowrap !important;
gap: 0 !important;
margin: 0;
padding: 0;
transition: transform 450ms ease;
will-change: transform;
}
.columns-image-slider .wp-block-column {
flex: 0 0 100%;
width: 100%;
max-width: 100%;
}
.columns-image-slider .wp-block-column > {
padding: 0 8px;
box-sizing: border-box;
}
.ts-slider-btn {
position: absolute;
top: 50%;
transform: translateY(-%);
z-index: 2;
border: 1px solid currentColor;
background: rgba(255,255,2559);
color: inherit;
padding: .5rem .75rem;
border-radius: 999px;
cursor: pointer;
}
.ts-slider-btn.prev{ left: 0; }
.ts-slider-btn.next{ right: 0; }
.ts-slider-dots{
display: flex;
gap: .5rem;
justify-content: center;
margin-top: .75rem;
}
.ts-slider-dot{
width: 10px;
height: 10px;
border-radius: 999px;
border: 1px solid currentColor;
background: transparent;
cursor: pointer;
opacity: .7;
}
.ts-slider-dot[aria-current="true"]{
background: currentColor;
opacity: 1;
}
@media (prefers-reduced-motion: reduce){
.columns-image-slider .wp-block-columns{ transition: none; }
}
</style>
<script>
(() => {
const carousels = document.querySelectorAll('.columns-image-slider');
carousels.forEach((root) => {
const track = root.querySelector('.wp-block-columns');
if (!track) return;
const slides = Array.from(track.querySelectorAll('.wp-block-column'));
if (slides.length <= 1) return;
// Ensure initial state
let index = 0;
// Build controls
const prev = document.createElement('button');
prev.className = 'ts-slider-btn prev';
prev.type = 'button';
prev.setAttribute('aria-label', 'Previous testimonial');
prev.textContent = '‹';
const next = document.createElement('button');
next.className = 'ts-slider-btn next';
next.type = 'button';
next.setAttribute('aria-label', 'Next testimonial');
next.textContent = '›';
root.appendChild(prev);
root.appendChild(next);
// Dots (insert after carousel so it sits below)
const dotsWrap = document.createElement('div');
dotsWrap.className = 'ts-slider-dots';
const dots = slides.map((_, i) => {
const dot = document.createElement('button');
dot.className = 'ts-slider-dot';
dot.type = 'button';
dot.setAttribute('aria-label', `Go to testimonial ${i + 1}`);
dot.addEventListener('click', () => goTo(i));
dotsWrap.appendChild(dot);
return dot;
});
root.insertAdjacentElement('afterend', dotsWrap);
function update() {
track.style.transform = `translateX(${-index * 100}%)`;
dots.forEach((d, i) => d.setAttribute('aria-current', i === index ? 'true' : 'false'));
}
function goTo(i) {
index = (i + slides.length) % slides.length;
update();
}
prev.addEventListener('click', () => goTo(index - 1));
next.addEventListener('click', () => goTo(index + 1));
// Basic swipe support
let startX = null;
track.addEventListener('pointerdown', (e) => {
startX = e.clientX;
track.setPointerCapture?.(e.pointerId);
});
track.addEventListener('pointerup', (e) => {
if (startX == null) return;
const dx = e.clientX - startX;
startX = null;
if (Math.abs(dx) < 40) return;
if (dx < 0) goTo(index + 1);
else goTo(index - 1);
});
// Keyboard focus support
root.setAttribute('tabindex', '0');
root.addEventListener('keydown', (e) => {
if (e.key === 'ArrowLeft') goTo(index - 1);
if (e.key === 'ArrowRight') goTo(index + 1);
});
update();
});
})();
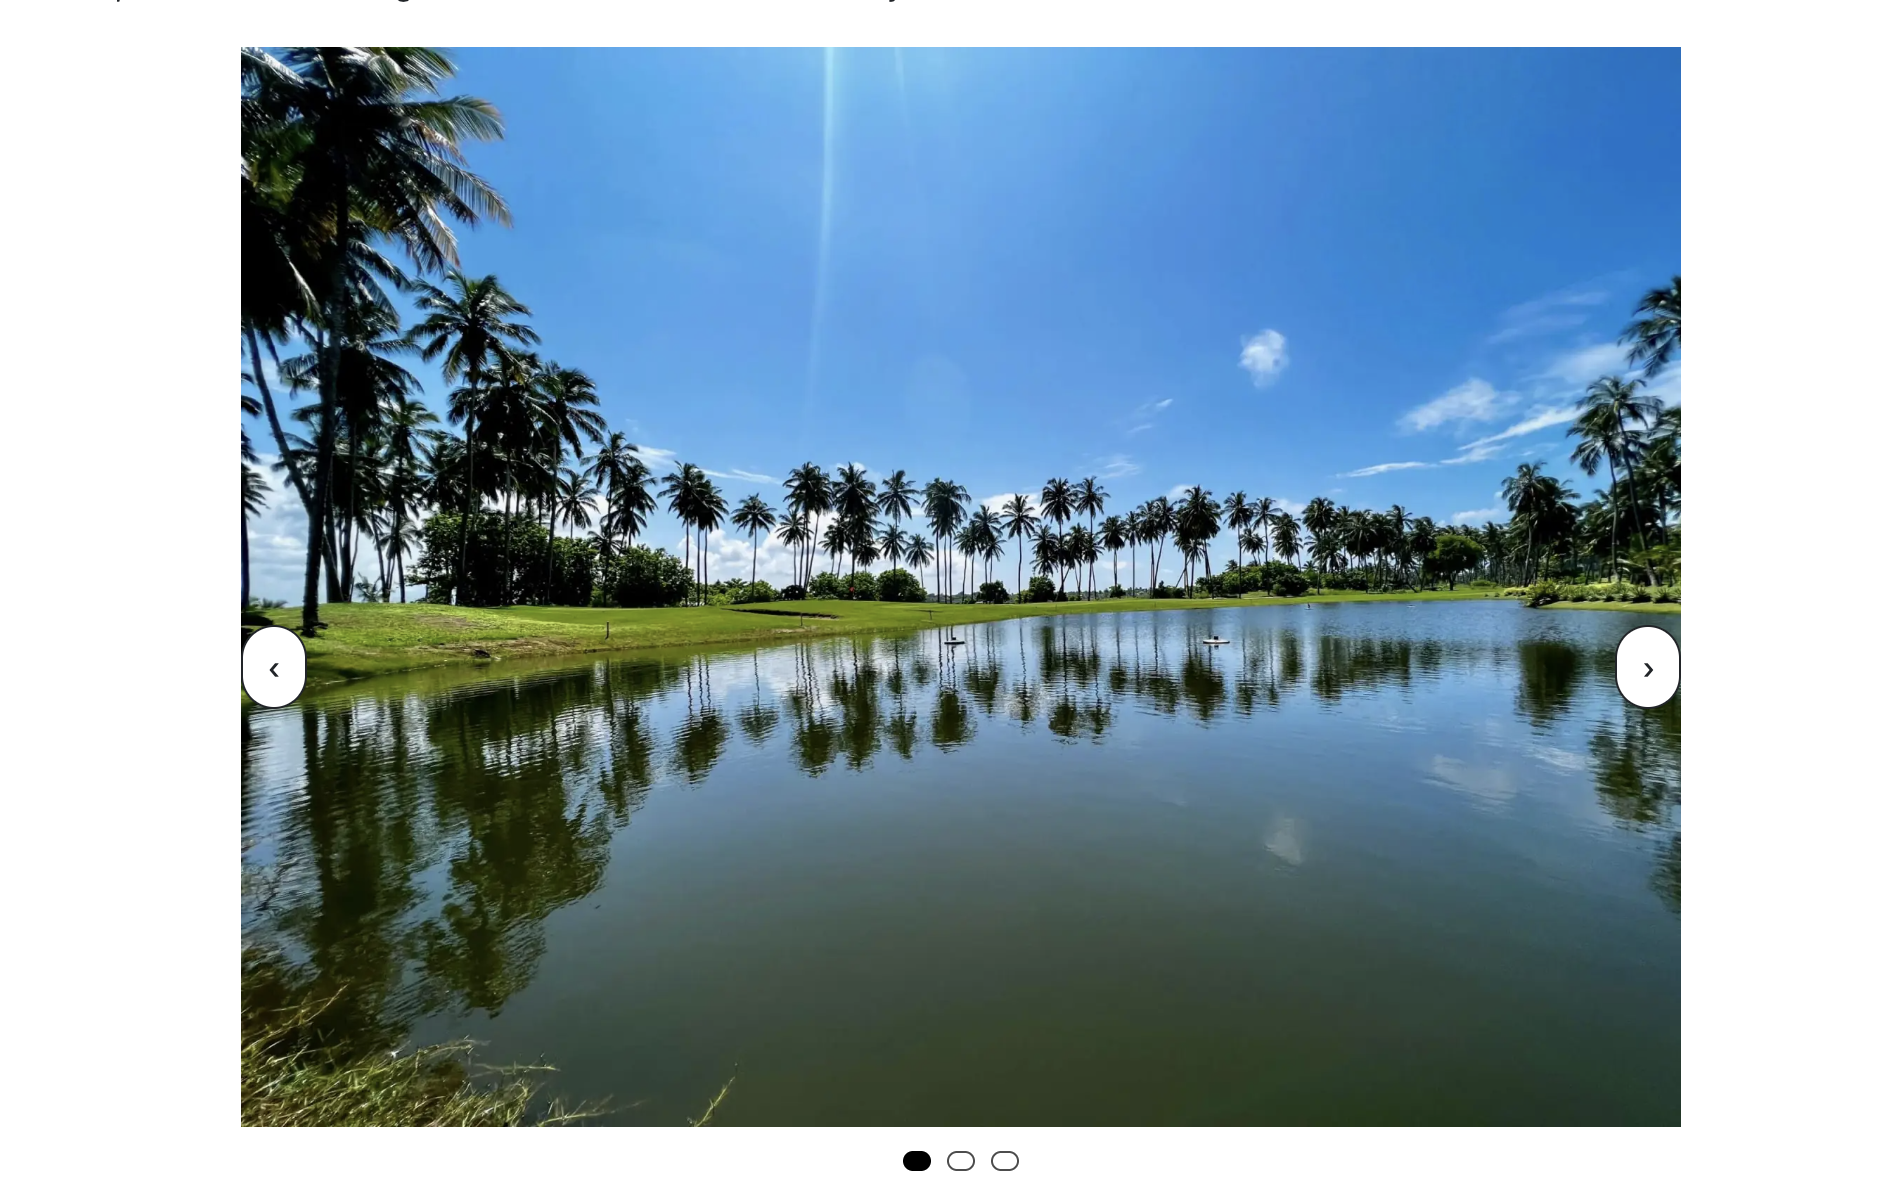
</script>This is what you end up with:


Perhaps this is not a lot, but can be a simple yet effective way to put up testimonials without requiring a whole new plugin (oh!) or come up with experiments on the same page like this.
Thank you!